A GUIDE TO USE A CNC ROUTER MACHINE FOR BEGINNERS
In essence, the CNC router is based on the displacement of each motion axis as the control object, and the automatic control system of the motion axis coordinated movement. The basic working process of the automatic control system is: First, the graphics to be processed are digitized through the engraving software, and the processing path is generated information, the processing path information can transmit to the control system through a certain data transmission method, and then the control system performs corresponding calculations and processing according to the processing path information, generates control commands and sends them to each motion axis, so that the X, Y, Z three coordinate axes, CNC router spindle and auxiliary movements coordinated to move to realize the relative movement of the tool and the workpiece can process, and the processing can automatically complete.
Let’s learn the basic skills to use a CNC router machine
Step 1. Starting Machine
1. Please power on the interface board first
2. Connect the handheld controller and the interface with a data cable
3. Power on the interface board again and perform the following operations to set the machine pulse equivalent.
Set the operating range of the three axes of the CNC router machine tool.
Set the CNC router zero return setting.
Set the three-axis speed and grid of the CNC router machine tool.
Set the direction of the three-axis motor of the CNC router machine tool.
[X+] Positive movement of X axis
[Y+] Positive movement of the Y axis, upward selection of the menu, cyclic increase input of numbers, adjustment of processing magnification, selection of attributes of different options in the menu
[Z+] Positive movement of Z axis, increase spindle speed during processing
【XY→0】Set the working origin of X-axis and Y-axis
[X-] Negative movement of the X axis, cyclic selection of the number of digits in the digital input
[Y-] Negative movement of the Y axis, downward selection of the menu, cyclic reduction input of numbers, adjustment of the processing magnification, selection of the attributes of different options in the menu
[Z-] Negative movement of the Z axis, cycle selection of the number of digits input, reduce the spindle speed during processing
【Z→0】Set the working origin of Z axis
[Menu] Menu setting, manual processing, automatic processing, advanced processing function switching [Axis start/axis stop] Spindle start or stop in manual mode [High speed/low speed] Manual mode selection of high/low speed movement [Return to zero] Manual In the state, each axis returns to the machine origin
[Stop/Cancel] Enter manual high and low speed parameter settings, stop processing and cancel various selections, inputs, and operations during processing
[Manual mode] Manual movement, continuous, step, and distance three ways to choose [Run/Pause] run automatic processing and pause processing and tool setting
[OK] The position of each axis back to the working origin and the determination of various selections, inputs and operations
Step 2. CNC wood router complete engraving operation process
A complete engraving operation process is divided into four steps:
(1) Calculate the path file in the CNC router engraving software;
(2) Generate G code object file;
(3) Download the file to the DSP operating handle;
(4) Finish the engraving process on the CNC router machine.
1. First arrange the layout in Wentai software according to capacity, or arrange the layout in other software, and import it into Wentai engraving software.
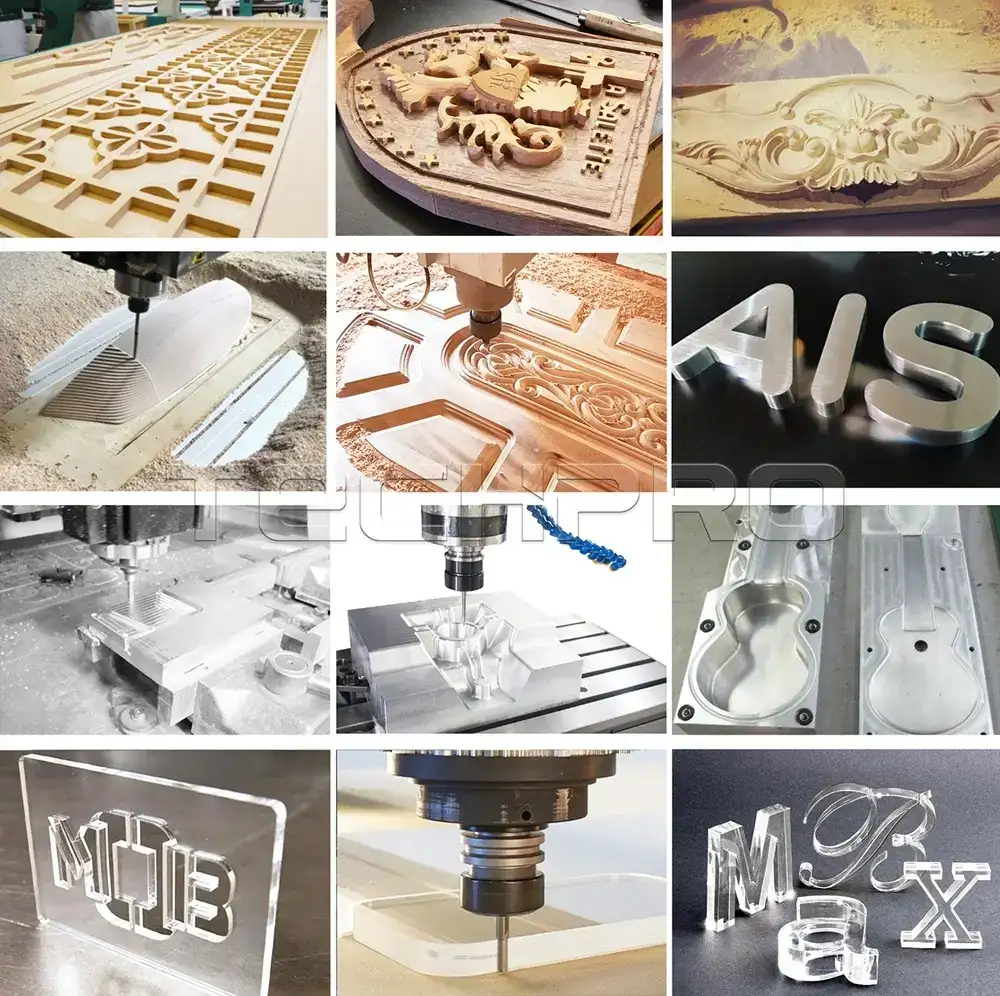
a) Badge making (regular size: 2CM×7CM)
Common tools: 20°×0.1 20°×0.2 30°×0.1 30°×0.2
First, use a slightly larger tool (the tip width is larger) to calculate the tool path. When using “2D” calculations, the bottom milling tool and the edge trimming tool must be the same tool, and the overlap rate is generally about 20%-30%. Then check the path through partial magnification to see if the fine strokes can pass the knife. If it can pass, use a big knife as much as possible; if it can’t pass, use a smaller tool and try again until the pass is satisfied.
B) PVC word cutting
Commonly used tools: 12mm (cut 10mm and below thickness) 17mm (cut 15MM) 22mm (cut 20MM) Because the melting point of PVC material is relatively low, generally there will be some melting on the edge of the material surface, and it needs to be modified with a utility knife. It affects the aesthetic effect of the characters, and the surface next to the table is smooth and flat. Therefore, we suggest: When cutting PVC characters, first mirror the processing object, and then calculate the tool path, so as to ensure that the characters face down, that is, the edges of the characters are smooth and tidy.
To keep the size of the characters unchanged when cutting, you need to select the outer contour cutting; and when calculating the two-color board and the PVC cutting path, you must select the “clockwise” path for the trimming.
c) Crystal word cutting
Commonly used knives: same as PVC, but it is recommended to use ∮4×22 knives when cutting 20MM thick acrylic, which is more durable. Other thickness can be ∮3.175. The crystal word has a high melting point and does not need to be mirrored when cutting; you must choose “counterclockwise” to calculate the path for the hook.
2. Save the engraving path in G-code file format to transfer to the DSP handle control software. After calculating the path in Wentai engraving software, it is best to save the engraving path in Wentai first.
Then click the “G” icon next to the “carving” in the toolbox, and the window of “save the engraving result as a text file” pops up, click “Find” to define the file name (it is strongly recommended to save as a Chinese file name), where “Save as type” ”Should be changed to “G-code Files(*.nc)”, click “Save” to return to the upper-level window; then set the lifting distance: generally set to 2mm for engraving; larger when cutting, generally 5mm-8mm Left and right; then click “Confirm” to save, when this window disappears, saving is completed.
3. Download the G code file to the DSP controller
Connect the handle to the computer via a USB cable, and the screen will display “Whether to return to origin”, you can ignore it; you can also directly press the handle (the second key from the right in the bottom row of the handle) to pop up the XYZ coordinate parameters.
Start “DSP Download Control Software” on the desktop, click “File”, click “Open” to pop up “Open Window”, change “File Type” to “All Files (*.*)”, in step 2 Find the file with the saved path in the save path, click it and the “File name” column appears, and then click “Open” to load into the layout.
a) Click “View” to select “Show all”, or use F3, F2 to zoom in and out of the file.
b) Before downloading the file, you need to determine the processing parameters, please click “Configuration”, click “Automatic processing configuration” to modify the processing parameters For reference:
① Automatic processing speed: engraving can choose 2000-4000 cutting PVC acrylic choice: 1000-2000
② Automatic dry running speed: 2000-3000 is enough
③ Cutting speed multiplier: 0.5-1 (depending on the processing material)
c) Click “Operation”, click “Download processing file” and pop up “Please enter the name of processing data”
① Processing data name: It is strongly recommended to use the Chinese file name, preferably related to the engraving capacity (for easy searching in the future)
② Which file to download: There are 9 locations to choose from, use on the handle to switch pages, and 3 files will be displayed at a time
③ Paging or not: temporarily useless can not be selected
Click “OK” to download the file. When finished, close the software and unplug the USB handle.
Step 3. Operation
Connect the handle to the control line of the CNC router, turn on the control power of the whole machine, and then turn on the main shaft power (it is forbidden to plug and unplug the USB handle on the CNC router machine).
When the handle screen prompts “whether to return to origin”, you must press the lower left key to return to the mechanical origin and complete the initialization of the whole machine.
At this time, move the motor head to move left and right by moving the motor head on the handle; move the gantry back and forth; move the spindle motor up and down to make the tool close to the surface of the processed material.
The general method is to first move the XY axis to roughly the position to be fixed, and then move the Z axis down: At this time, switch to the low speed state by pressing the key, and there is a status display in the lower left of the handle screen, and switch to continuous mode by pressing the key. Observe When the tool is approaching the material surface, switch to stepping mode again, and there is a prompt in the lower left corner of the screen. Press to start the spindle motor to make the tool run at high speed. When the speed stabilizes, the tool is fixed on the surface of the material.
After the tool has set the processing point, before engraving, you must press the key to reset the XY coordinates to zero, and then press to reset the Z axis coordinates. When the screen XYZ axis coordinates are all displayed as 0, the system will automatically remember this time The processing origin of the operation is used for the next processing call; at this time, press the screen and 3 data files to be processed will pop up (a total of 9 files can be found by turning the page).
When the file to be processed is found, press it The corresponding number keys in the front will jump out of the processing file name first, and then jump out of the processing parameters (automatic processing speed, automatic dry run speed, speed override), the “speed override” can be increased or decreased, the minimum is 0.1, and the maximum is 1. ; The actual processing speed is determined by the product of the automatic processing speed multiplied by the speed override. Actual processing speed=automatic processing speed×speed override The maximum speed override is 1, which means full speed, and the minimum is 0.1, which means 1/10 of the automatic processing speed.
When engraving a double-color board, you can first adjust the magnification to 0.5, which is about half, depending on the actual processing effect, and then determine how much speed to increase (Note: the lower left of the screen is displayed during engraving processing) When cutting acrylic, the speed should not exceed 1000. When the speed magnification is set, press on the handle to start output processing.